Our Blog
How to Splice Your Own Dinosaur Refrigerator Magnets
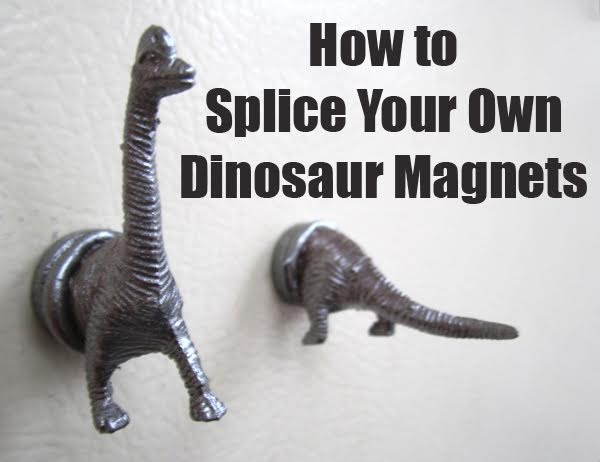
The truth is, we never really grow out of our childhood love affair with dinosaurs. Make these terrible lizards part of your home or office with these easy to DIY dinosaur magnets. No need for the lysine contingency here – these dinos definitely won’t reproduce in the wild. And by using sturdy magnets, there’s no risk of escape! No risk at all…
Posted by Margaret Dunham
6 Dinosaur DIYs to Get Ready for “Jurassic World”
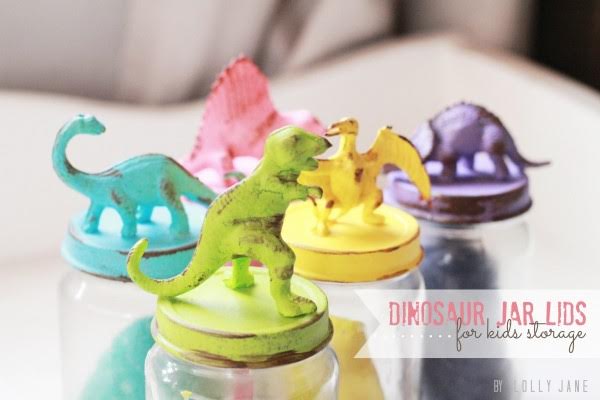
It’s a universally agreed upon fact: you never grow out of loving dinosaurs. Using plastic dinosaur toys from the dollar or party store to add a little pre-history chic in the home or office. Grab a few tools, some glue, and a sense of awestruck wonder at the majesty of Jurassic beasts, and you’ll be ready to get crafty!
Posted by Margaret Dunham
How-to Tuesday: Make a Fetching Fascinator with Flowers and Tentacles
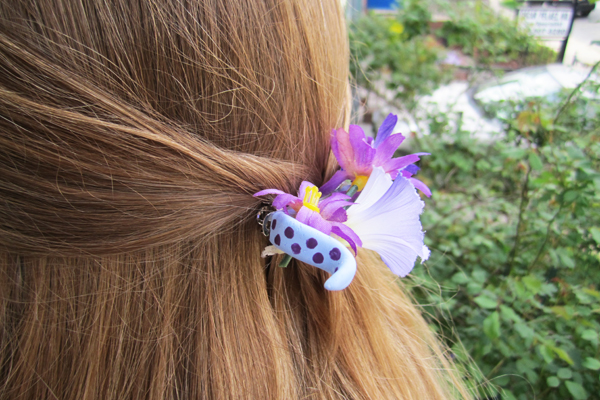
Wildflowers, a favorite of Marianne Dashwood, and tentacles, both feature elegantly in Sense and Sensibility and Sea Monsters. Tentacles curled around wildflowers make delightful hair fascinators and are perfect for pleasant afternoons spent picnicking and/or battling monsters of the deep. These flowery accessories are easy to whip up with just a few supplies!
Gather your materials:
- Barrette bases – Almost every kind of craft barrette works well for this project; but avoid the kind that have to bend back and forth to close. This can cause the decorations to snap off.
- Fake flowers – Small silk or fabric flowers from your local craft store work perfectly.
- Lightweight clay – I used Model Magic for this project, but you could also use a polymer clay like Sculpey.
- Assorted paints – Any acrylic craft paint and small brushes will work.
- Hot glue gun – Hot glue is perfect for this project; it sets quickly and provides a sturdy base for the decorations.

Directions
Step 1: Mold your tentacles. Roll a small amount of clay between your palms to form a long strip that narrows at the end. Curl and pose your tentacles into shapes that will wrap around your flowers. Fit each tentacle to the shape of your barrette base, molding them to meet the base.


Step 2: Let your tentacles set. If you are using an air-drying clay, allow your tiny sculptures to dry undisturbed. If using a polymer clay, bake them according to instructions on the packaging.
Pro-tip: curl your tentacles around small objects to hold their position as they dry. If you are concerned about stability, roll a wire in the center of your clay before you begin sculpting.

Step 3: Paint the tentacles. Creatures with tentacles can often change colors, so choose any colors you like! You can even add glitter paint or nail polish for an aquatic glimmer. Try painting small circular suction cups to the underside of a tentacle for added depth and texture.


Step 4: Secure your tentacles. Once the tentacles have dried, use your hot glue gun to glue them to the barrettes. Don’t worry about any wispy strands of hot glue you might see, it’s easy to clean those up after your project is finished.

Step 5: Add your flowers. Arrange flowers one at a time, placing them in the grasp of your tentacle and using your hot glue gun to secure. Trim any lengthy stems before gluing the flowers in place.
Pro tip: use leafy greenery or extra blossoms to cover any visible portions of the barrette.

Step 6: Finish and wear! Let the fascinator cool and dry, reinforce any weak spots with glue, and gently remove any remaining threads of hot glue.


Wear a subtle sea monster barrette to the office, or celebrate cephalopods with a big, bold fascinator out for an afternoon in the sun! Snap a picture of your projects and tweet them to us at @QuirkBooks.
Posted by Margaret Dunham
How-to Tuesday: Make Your Own Envelopes from Scrap Paper
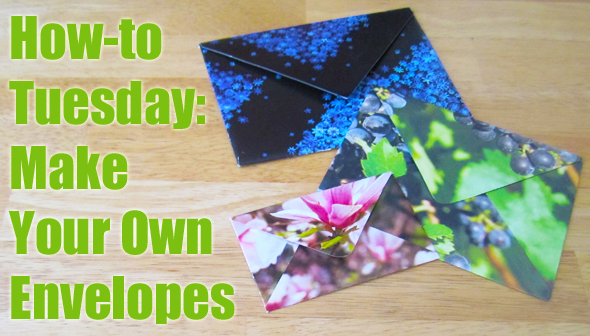
Remember the days when you used to get excited about getting mail? Back when we used to get more than spam and bills? Bring back those days with personal notes and letters sent in your own handmade envelopes! Use these instructions to make your own envelopes to fit any size letter or card.
Posted by Margaret Dunham
Celebrate Towel Day: Embroidery Projects for Hoopy Froods
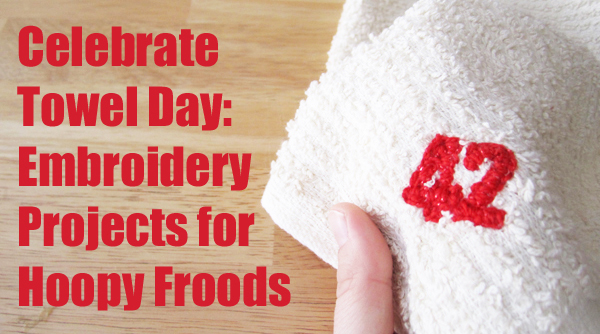
The Hitchhiker’s Guide to the Galaxy has a few things to say on the subject of towels. A towel, it says, is about the most massively useful thing an interstellar hitchhiker can have.
But if every hoopy hitchhiker is carrying a towel, how can you tell which is yours? Well, aspiring froods, by embroidering it yourself! Here’s our Towel Day guide to embroidering your massively useful towel with any of these Guide-themed designs made especially for you.
Posted by Margaret Dunham
How-To Tuesday: Wonderfully Wordy Vases
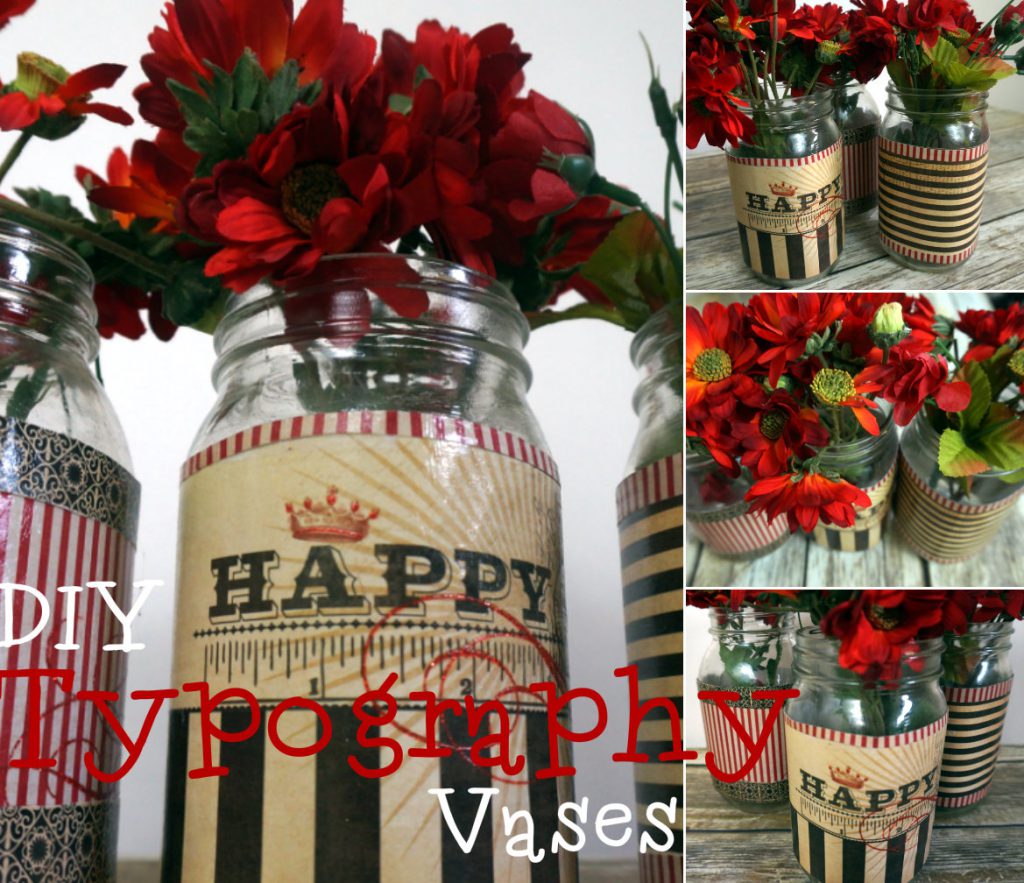
No longer are words doomed to merely adorn a paper: words can now be a decorative and enjoyable part of our everyday decor. From printed fabrics to wonderful stenciled wooden pallets words are inscribed to inspire and delight. If you are obsessed with typography and the beauty of words, then you are going to love this easy DIY project.
Posted by Lauren Gordon