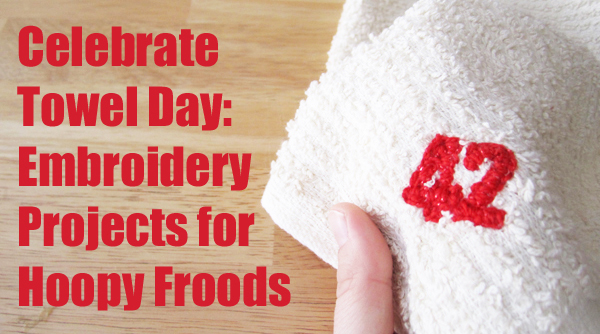
Celebrate Towel Day: Embroidery Projects for Hoopy Froods
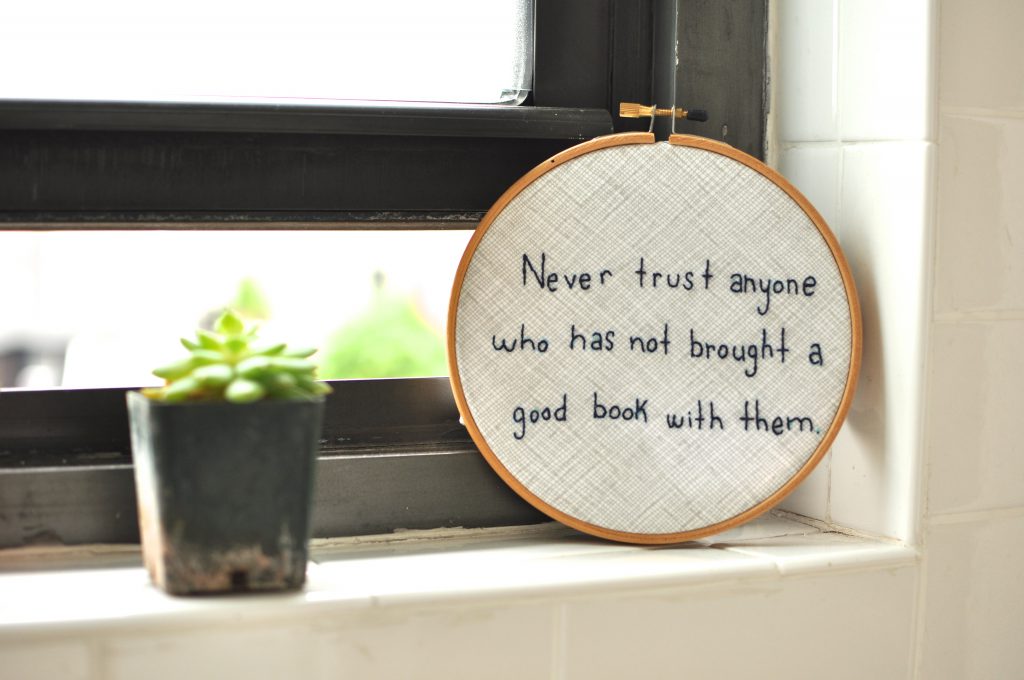
The Hitchhiker’s Guide to the Galaxy has a few things to say on the subject of towels. A towel, it says, is about the most massively useful thing an interstellar hitchhiker can have.
But if every hoopy hitchhiker is carrying a towel, how can you tell which is yours? Well, aspiring froods, by embroidering it yourself! Here’s our Towel Day guide to embroidering your massively useful towel with any of these Guide-themed designs made especially for you.

Gather your materials:
- Towel. As you can tell, this is the most important thing. Kitchen towels, dishcloths, and bath sheets all work perfectly well.
- Embroidery floss. The floss you use will depend on the towel you’ve chosen. Light mercerized cotton floss is great for tea towels, but heavier cotton or acrylic yarns will be more appropriate for coarse or heavy towels. For this towel, I used Lion Brand Bonbons, since they come in small quantities and many colors.
- Embroidery needle. The needle you choose will depend on the fabric of the towel and the floss you embroider with. The needle should be a little sharp, and thick/sturdy enough to thread and push through your towel.
- Embroidery hoop. Hoops are adjustable for different grades of fabric. If you are working with an especially coarse or thick towel, make sure your hoop is especially sturdy.
- Design template. Below you’ll find several templates of designs to embroider on your towels. But feel free to design your own!
- Tracing paper. This is the easiest method for transferring a specific design to your towel.
- Pencil
- Scissors
- Pins
Designs:


Directions:
1) Choose your design, print it out and trace it. Why trace it onto tracing paper? Even if your printer will let you print onto the tracing paper directly, the ink or toner from the printer might bleed onto your towel or floss while you work. Pencil tracings, on the other hand, are much lighter and much easier to clean.

2) Stretch your fabric onto your hoop and secure. With thicker towels this may be a little awkward at first. Keep in mind that the purpose of the hoop is to pull the fabric taught so you can work with it and to securely. Don’t stress if it isn’t perfect; as long as you can work securely, you’re using it correctly.

3) Pin your traced design onto the towel. Use a few pins in several places around the design to hold it in place.

Pro-tip: If your towel is very thick, you might try basting the design onto the towel with scrap sewing thread. The effect is like using thread to trace the design straight onto the fabric – once the design is in place, you can tear the tracing paper away.
4) Thread your needle and begin embroidering. Push your needle from the back (wrong side) of your towel and up into the tracing paper design. For tutorials on basic embroidery and getting started, I recommend this stitching step-by-step guide to some of the most popular stitches. Try the stem stich for lines and the satin stitch for filling in large areas.

Pro-tip: Keep your embroidery stitches fairly small, even if your design is large. Long stitches are much more likely to snag or pucker in the washer/dryer.
5) Tear away the tracing paper. As you work, or as you finish a section, tear the tracing paper away (or trim it away very carefully). If there are a few pieces left over that’s ok. Tracing paper is very thin and will probably work its way out or dissolve after a few washings.

6) Finish off your embroidery and enjoy! Some will say that you shouldn’t use a knot at the end of your work, but knots that keep your towel space-worthy and laundry-safe is fine. If you’re working on a light tea towel or flour sack towel, try these tips on finishing embroidery without knots.

And there you have it! Be safe out there, hitchhikers, and Happy Towel Day!