How to Tuesday: Create Your Own Bookish Hoop Art
Posted by
Whitney Penn
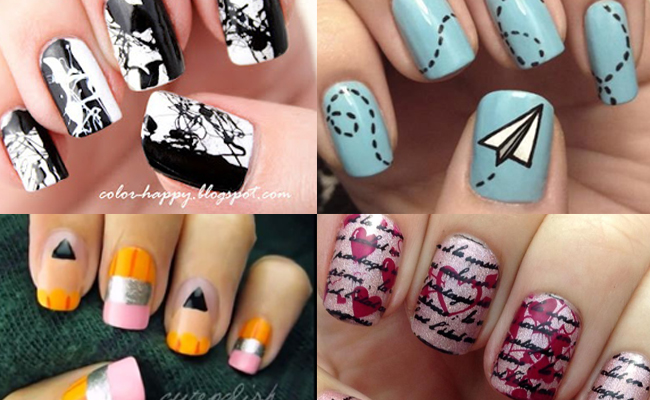
Hoop-ing up embroidery pieces is a great way to quickly and cheaply DIY wall art. There are so many directions to take hoop art, from the bold to the serene, that there's no way to go wrong. Here at Quirk we love words & books, so we took our inspiration from hand lettering to make our take on hoop art, but you can go with whatever floats your boat!
Supplies
– Fabric. For this particular project, you'll want a solid color or a small pattern.
– Backing fabric. Plain white linen should do the job.
– Embroidery needle
– Embroidery thread
– Scissors
– Embroidery hoop (or two)
– Quilting marker (optional)
– Pencil and Paper (optional)
– Pins (optional)
Directions

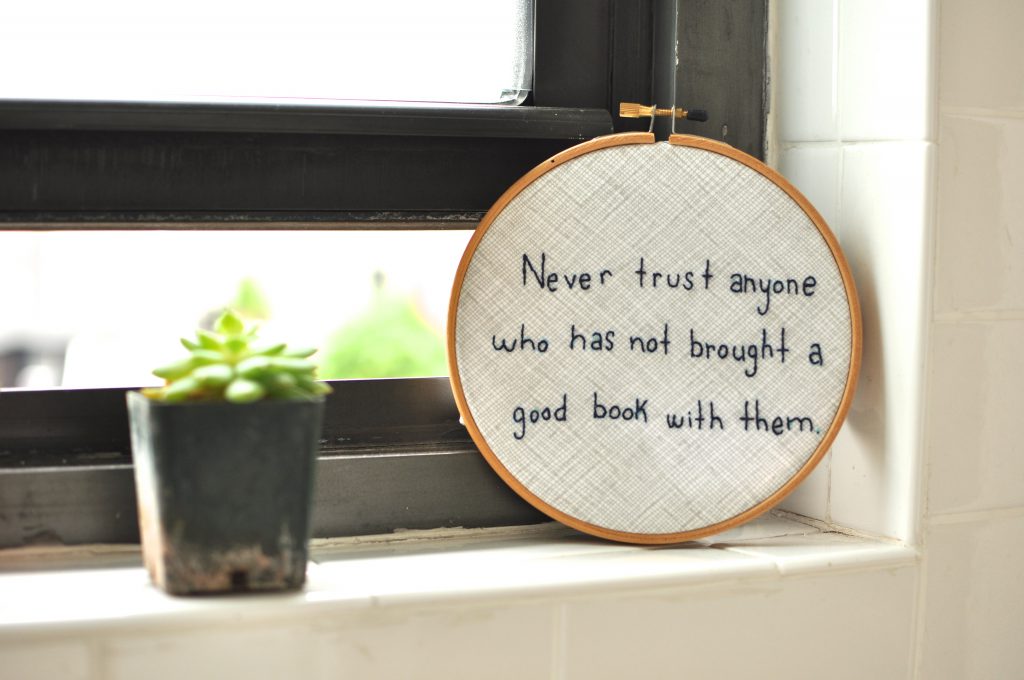
1. Decide on a quote– I went with a favorite from A Series of Unfortunate Events author Lemony Snicket (AKA Daniel Handler): "Never trust anyone who has not brought a good book with them."

2. Take your hoop and trace it on a piece of paper so you can plan out your word placement. Sketch out your quote and don't be afraid to erase and start over a few times until you nail it! Once you get it exactly how you want it in pencil, trace over with a dark marker.

3. Figure out how much fabric you'll need. You can trace around your hoop again or do what I did, which is match the shape of my paper, more or less. No matter how you do it, leave about 3" of room on all sides of where you plan to stitch your quote. Cut how much you need out of your fabric and backing fabric and carefully iron.

4. My favorite transfer method is the window trick because it's so low-tech. Tape up your paper and your fabric over the top of it. Because your line is so dark, you should be able to see your quote. Use a quilting marker to trace your quote onto your fabric. I like these water soluble ones.

5. Hoop up your piece in the hoop you're going to stitch in. Be sure to add a backing fabric to stabilize your stitching. I have yards and yards of plain white linen just for this purpose. The fabric and the backing fabric will get stitched together when you start embroidering, so just layer them on top of one another.

6. Pick your thread color & cut about 18 inches. Embroidery thread comes in a bunch of different weights, and the kind I have (and the kind that probably comes to mind when you think "embroidery thread") is DMC cotton embroidery floss. This kind of floss has 6 smaller strands all twisted together to form the thread. Using all 6 of those strands to embroider with can be tricky, so I usually separate mine out into two groups of 3 strands. If you want a thinner line, go with 2, or if you want to use all 6, go for it, but don't say I didn't warn you! Thread your needle, knot your thread.

7. Get stitching! I used a simple back stitch to go over my quote. There are a lot of embroidery tutorials on youtubethat you can check out if you don't know how to embroider yet. I used a backstitch, which is usually what I use for a plain line.

8. Voila!

9. Hoop up your piece in it's permanent home. Make sure you get your quote where you want it in the hoop.

10. There are a lot of ways to get rid of the excess fabric around the hoop, and this is just how I do it to keep things as impermanent as possible so I can swap out projects as I make new ones. All I do is pin the fabric to itself, like in this picture, but all the way around the back of the hoop.

11. Done! Find a home for your pretty new hoop art and revel in the compliments as they pour in.