How-To Tuesday: Make Your Own Quill For Under $30
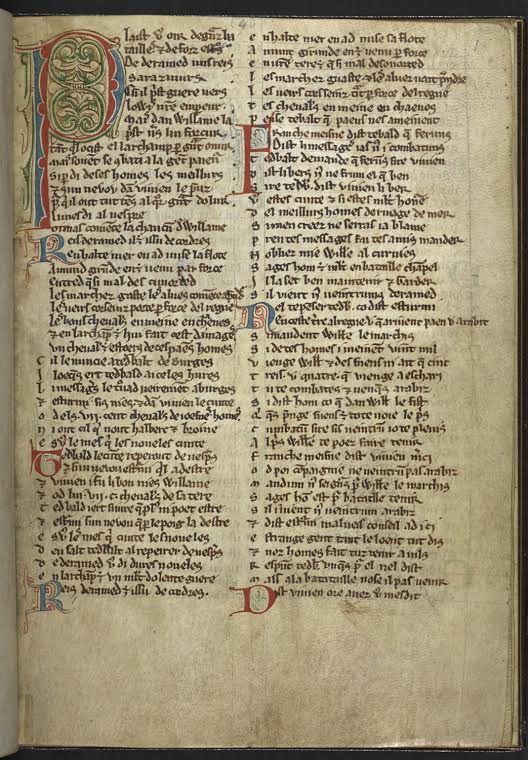
Quills have been used to author some of the most important documents of our time—The Magna Carta, Shakespeare's works, lots and lots of Bibles. And perhaps most timely, the Founding Fathers of the United States wrote and signed the Declaration of Independence using this esteemed and elegant writing instrument.
So next time you have an important document to sign, why do it with a boring old Ballpoint, when you can pen your name like a major historical figure? Better yet, how about signing with a quill you constructed yourself and for under $30? Here's our How-To Tuesday on making your own quill pen on the cheap!
Supplies

- The Feather: Quills are made from the molted wings of large birds, preferably goose or turkey. Bundles of turkey feathers can be bought at arts and crafts stores for less than $2 each. We recommend that you buy a couple of bundles at the same time. It might take some practice before you get the hang of how to cut the nib. (Cost: $2-4)
- Bowl of Water
- Sand (Cost: Free to $5)
- Ceramic Cooking Pot
- A "Quill" Knife: When you’re making a quill on a budget, this is where it becomes tricky because a true quill knife can be expensive. One way is to buy a vintage quill knife on eBay. Another way to go is to buy a classic Swiss Army knife. The classic Swiss Army knife comes with two quill knife blades, as well as all kinds of other useful tools. The classic Swiss Army knife costs $20, but you can think of it as an investment in a multi-purpose tool for when the world crumbles into dystopia and you have to fend for yourself in the woods. (Cost: $20)
- A Cutting Board
Directions

Step 1: Soak the end of the quill in cold water for two hours.
Step 2: When the quill is done soaking. Heat the sand on the stove. Stick the quills in nib-first, let them sit for 10 minutes, and then let the sand cool. This part of the process is called “to dutch” the quill. Dutching will enable you to remove the outer skin on the quill as well as harden it for cutting.
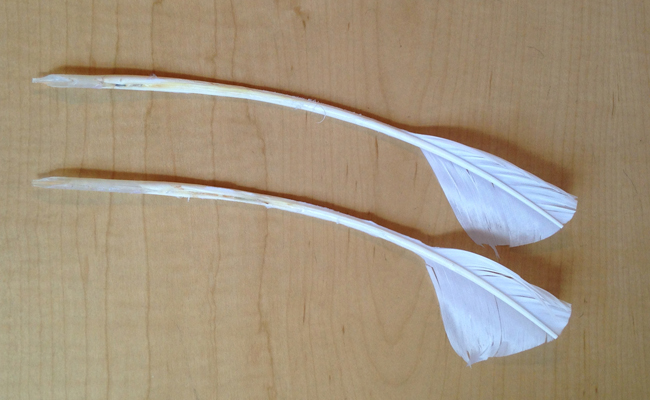
Step 3: Remove most of the feather barbs from the quill using the Swiss Army knife. Keep some of the barbs at the top for decoration. Be careful with the sharp knife!
Step 4: Cut off the end of the quill, approximately ¼ inch.

Step 5: Then cut the tip again but at an oblique angle.
Step 6: Use the tip of your quill knife to hollow out the shaft of the feather. This makes it easier for the quill to function as an ink reservoir when you dip the nib into ink.
Step 7: Cut the tip again at two oblique angles on the bottom edges of your last cut to create the nib.

Step 8: Make a slit in the nib. This slit helps distribute the ink on the paper as you write. If you would like to write in a medieval style of writing, make a straight cut across the nib to create a chisel-edged nib. This type of nib is rigid with a flat edge and was used for writing styles such as the Carolingian minuscule, which was in use on the European continent from the ninth to the thirteenth century. If you’d rather write in a later style, cut the nib into a sharp point. This type of nib is flexible and enables you to write in fine lines. The pointed nib was introduced in the seventeenth century and was used for writing styles like Copperplate.

Et voila, you now have your very own quill! Ready to get started on making medieval ink yet?