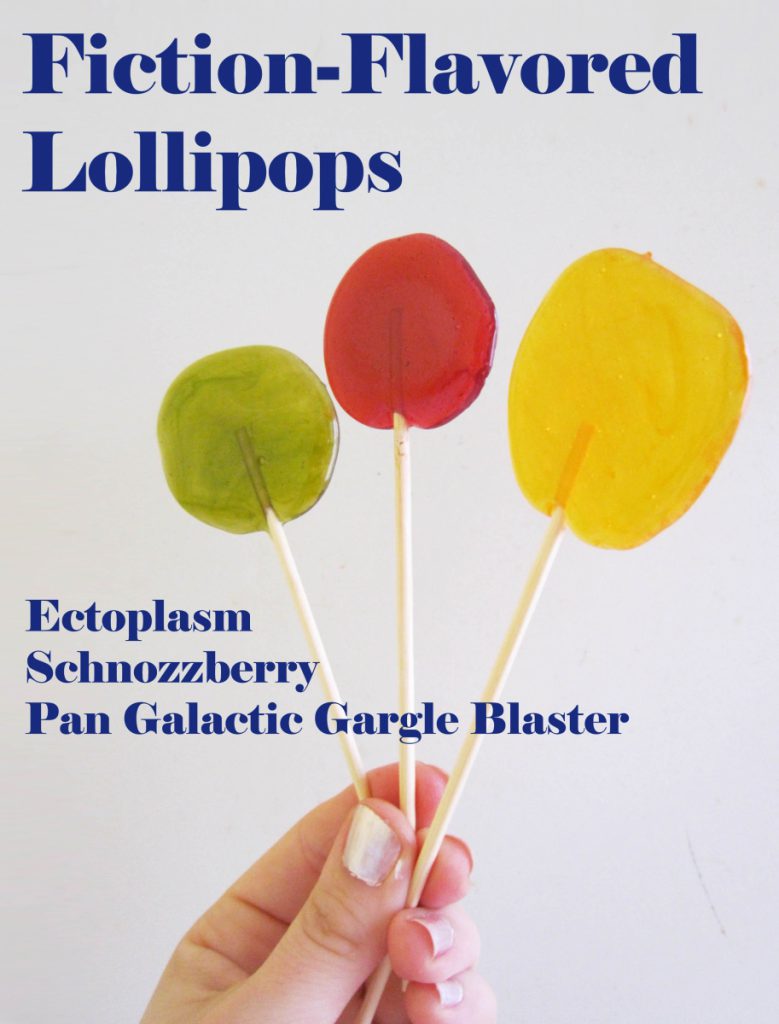
How to Tuesday: Fiction-Flavored Lollipops and How to Make Them
Lollipop: a sweet, nearly magical candy on a stick. It used to be you could get at the bank just for using their services, or for being good at the doctor or dentists office (though this was probably a sly plan to encourage repeat business).
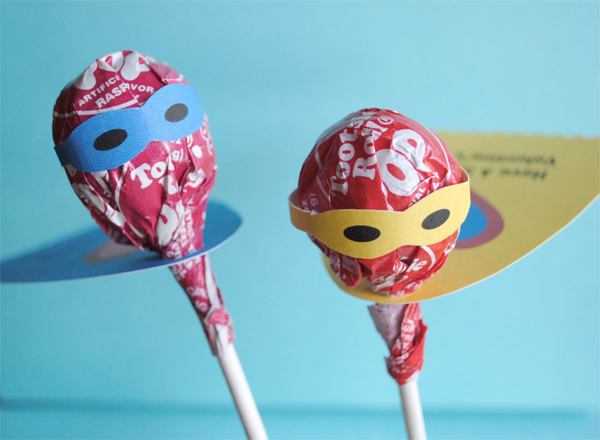
But now that you're a full-grown geek it's time to learn how to make your own lollies, and more important still, how to flavor them to match your favorite fandoms.
Gather your materials.

Lollipops are an old-fashioned sugar candy favorite. You can vary the colors or flavors to suit your tastes. Make sure you have an accurate candy thermometer for this recipe!
Ingredients:
· 1 cup sugar
· ½ cup light corn syrup
· ¼ cup water
· Food coloring (optional, but recommended for light-colored mixes)
· Wax paper or silicone sheet
· Cookie/baking sheet
· Cooking spray or corn starch (optional release agent)
· Medium sauce pan
· 3 small, heat-resistant and pouring-friendly bowls with spoons
· Candy thermometer (technically optional if you can identify 'cracking temperature' by eye)
· Bowl of ice water (optional for cooling your melted sugar and easing any burns)
· Lollipop sticks
· 1-1/2 tsp flavoring of your choice:
· Ectoplasm: 1 tsp tangerine liquid water enhancer (inspired by the famous retired Hi-C flavor Ecto Cooler, which had a tangerine base. Add green food coloring if desired)
· Schnozzberry: ¼ tsp Fruit Punch and dash of Grape Kool Aid powder (go easy on it if you're using unsweetened powder like I did, too much and it can get bitter)
· Pan Galactic Gargle Blast: 1 tsp/serving of powdered instant lemonade water enhancer, dissolved in a few drops of water

Yield:
About 8-10 silver dollar sized lollipops in each flavor, or 24-30 all together.
Note:
Melting sugar has requires continual attention, and sugar burns are intense and very painful. It is there for important to dress accordingly.
The process of melting sugar can move very quickly, so it's best to have all your materials clean and laid out ahead of time.
Preparation:
1. Lay out all your materials. Lay a sheet of wax paper shiny-side up in your baking sheet, dust with cornstarch or mist lightly with cooking spray if your choose. These agents can help for releasing your finished lollipops once they've cooled.

2. Combine your sugar, corn syrup, and water in a medium saucepan and stir carefully and thoroughly. Turn on medium to low heat and continue to stir, helping the sugar dissolve and keeping it from burning. If desired, brush down the sugary residue from the sides of the pot with a wet pastry brush rather than scraping it down. Once pot is bubbling, stop stirring.

3. Bring sugar mixture to a boil without stirring and insert candy thermometer. Allow to boil until candy reaches 295 degrees Fahrenheit (146 C) or 'cracking temperature.'

4. Once your sugar reached 295 F, remove it from the heat. Let it stand until the bubbling stops. The liquid should still be fairly runny. Carefully pour liquid into small bowls with the help of your spoon to guide it.
(This process moves fast and is hard to photograph, so please imaging me in a lab wearing big, funky goggles carefully eyeballing a third of the melted sugar in each little bowl, using a spoon to assist.)
Stir in flavorings and food coloring. Note: if you want to make only one flavor, you can add your flavoring and food coloring directly to the pot.

5. Once your sugar has cooled to a consistency best referred to as goopy (think room-temperature molasses, or maple syrup from the fridge) spoon dollops of the candy onto your wax paper, about 1.5 to 2 inches apart. Keep in mind that the candy will spread out a little, but the goopier it is the less it will spread.

6. Place your lollipop sticks in the candy. I recommend aiming the end of the tick at the center of the candy circle. Lay the stick down and gently push to embed it in the candy. Be sure to fully encase the stick in candy – gently roll the stick in place a half turn to get the candy all the way around it.

7. Let stand for an hour (or more if it's hot in the kitchen) or pop in the fridge to cool for 30 to 45 minutes. Peel them off your wax paper or silicone sheet and enjoy! Pro-tip: if a little wax paper comes off on the back of you lollipop, don't despair. Run a little water over your finger and move your finger in gentle circles over the wax paper leavings. The edges will soak and be ready to peel off in no time, just let your lollipop cool a little longer standing up in a glass in a cool space.

Wrap them up in some clear, non-clingy plastic and they are ready to wrap and share! Or hoard them for yourself. I don't judge.