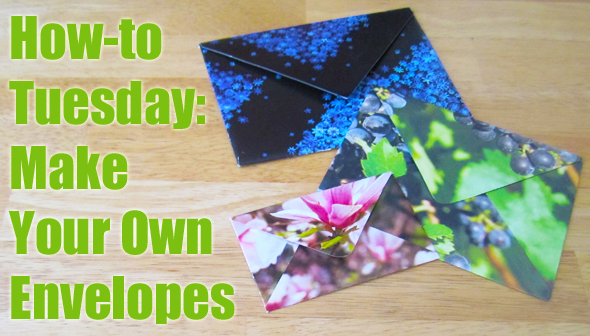
How-to Tuesday: Make Your Own Envelopes from Scrap Paper
Remember the days when you used to get excited about getting mail? Back when we used to get more than spam and bills? Bring back those days with personal notes and letters sent in your own handmade envelopes! Use these instructions to make your own envelopes to fit any size letter or card.

Gather your materials:
- Folded card or letter – After all, you will need something to mail.
- Envelope fitting the card or letter – you’ll use this envelope as a template for making future envelopes.
- Thin cardboard or heavy cardstock – I used the backing from an old pad of paper
- Scrap paper – pretty magazine covers, catalogs, and maps make great envelopes.
- School glue – use a lightweight school glue that tacks up (gets slightly dry) quickly.
- Fine-tipped pencil or permanent marker – Anything that will make a clear, precise mark
- Scissors

Carefully unfold your template envelope.
Gently pull apart the envelope and lay it flat. Do your best not to tear the envelope, but a little tearing isn’t the end of the world so long as you can still clearly see the outline.

Trace the envelope.
Lay the unfolded envelope flat on the cardboard, and use your fine-tipped permanent marker or pencil to trace its edges.

Cut out the cardboard template.
Carefully cut along the outline you’ve just made. When finished, you should have a cardboard template in the exact shape of your unfolded envelope.

Trace the template onto the scrap paper.
Decide which side of the paper you want to be the outside (right side) of your envelope. Flip the paper over (wrong side up) and trace your template.


Cut out and fold up.
Cut out your newly-traced envelope. Carefully fold the envelope up and make sure that all the flaps meet properly, and that there is enough overlap to glue them together.


Glue together the flaps.
Make a thin line of glue near the edge of the bottom flap (the innermost layer of the envelope) where the other flaps will fold down on top of it. Once the glue is slightly tacky, press the overlapping flaps into place, and hold while the envelope sets up. Let the envelope dry, and you’re done!


There you have it, a fancy new envelope that’s the perfect size for your correspondence! Some tips on sending your new envelope in the mail:
- Address the envelope clearly, either writing in a plain-colored area or using an address label on the back flap.
- Once you have written your letter, seal it inside the envelope with a little more glue and/or a large sticker or seal.
- Test your envelope before putting it in the post box – double-check that it’s ready to make the trip!