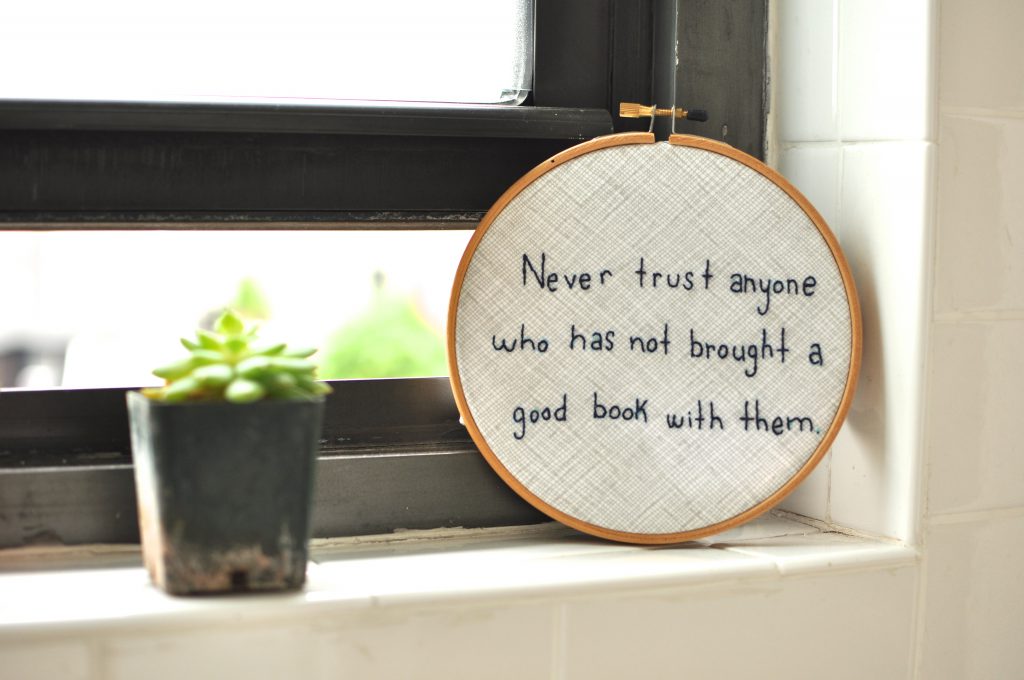
How-to Tuesday: Removable Fabric Wallpaper for Your Reading Nook
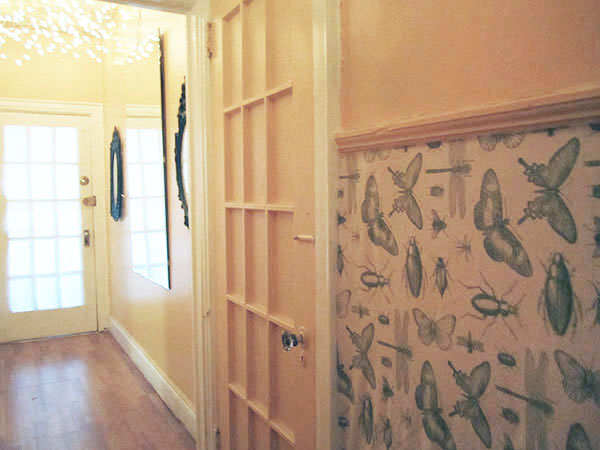
White walls: the bane of renters/dorm-dwellers everywhere. Never fear! Even if you can’t paint the walls, you can add color and pattern that stays up all year and comes down easily when you want it to. The secret? Hand-picked fabric and liquid starch.
While starching laundry isn’t too frequent nowadays, this wonder-liquid makes an excellent paste for your wall and turns scrap fabric into beautiful décor. It’s also water soluble, so the fabric and paste comes off easily when the time is right. Don’t have a jug of laundry starch sitting around (who does)? Whip up your own patch of starch for this project with stuff you already have in the kitchen.)
Materials

Make a fabric wall decal:
- Woven fabric
- Bowl
- Spray bottle
- Thumbtacks
- Paint brush
- Sharp scissors/utility knife
To make your own starch:
- Cornstarch
- Hot water
- Stirring spoon
Directions
Choose your wall and fabric.
Find an area of your home that needs a little love, or choose a wall you look at every day. You can hang fabric to cover the whole wall, a portion of the wall, or a small specific area like a poster or a decal. Wash and thoroughly dry both the wall and the fabric you’ll be using. Don’t worry too much about small wrinkles in the fabric, many of these will work themselves out as you paste it in place.

Hang your fabric up.
Using thumbtacks, hang your fabric in place. It’s a good idea to hang your fabric in place before you pour the starch so you don’t have to worry about hanging it with starch-covered hands. The homemade starch blend also tends to dry quickly, and hanging your fabric in advance saves you precious pasting time. For this example, the fabric covers a wall from edge to edge, but a smaller piece could be hung in the as you would position wall art.

(Optional) Make your batch of starch.
Heat up your water carefully on the stove or in a microwave. Pour about a half-cup of cornstarch into your (a half-cup bowl per square yard of fabric you intend to use will be more than enough). Add the hot water a little at a time while stirring consistently. Stir until the mixture reaches an even, pudding-like consistency and you’ll be ready to begin.

Paste and smooth in place.
Remove the thumbtack from one corner of your fabric and, using your paintbrush, apply a thick layer of starch to the wall. Immediately replace the fabric and use your hands to smooth out any wrinkles. Replace the thumbtack and continue this process (un-tack, apply paste, smooth, replace tack) along the top edge of the fabric. Once the top is secure, apply your starch to the wall a square foot or so at a time, working from top to bottom, smoothing and straightening the fabric as you go.
Pro-tip: If your fabric begins to dry in the wrong position, give it a light mist of water from your spray bottle and adjust accordingly. Don’t let the fabric get too wet though, or the starch won’t adhere well and your project will take much longer to dry.


Trim and enjoy!
Once the fabric and starch have fully dried (at least an hour per square yard), use your scissors or utility knife to trim away any loose threads or excess fabric at the edges of your wall.
Pro-tip: For a more finished edge, use ribbon to create a border and conceal the edge of the fabric. Simply apply a little starch to the back of the ribbon and smooth it in place. As a bonus, this gives more free-form applications a framed, professional look.
When it’s time to move…
Moving? Grab that spray bottle and spritz the fabric along the edges. Once the edges are thoroughly damp, pull a corner up and begin peeling back the fabric. Ease the fabric off the wall gently by spraying more water as you go and only pulling a little off at a time. Once you’ve pulled away all the fabric, wipe the starch off your wet wall with a sponge and a little soapy water. Done!
This DIY works best for smooth walls, but can be applied over existing wallpaper and paint finishes. If you’re at all worried about removing the fabric from your walls, test the process out first in a small unnoticeable area to be sure!