How to Make A Book Page Wreath
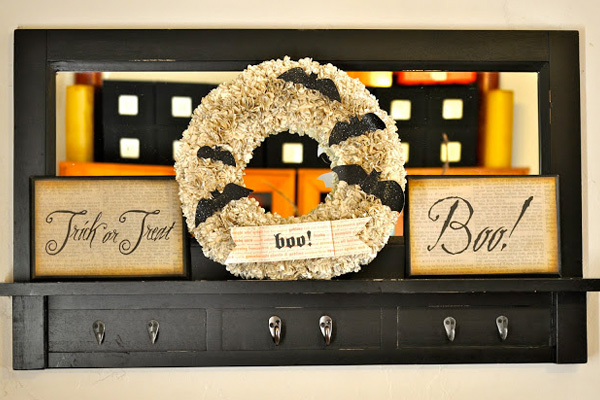
After decking the halls, the tree, and even your bookshelves for the holidays, it hits you: what about the front door?! With holiday guests coming and going, you can easily welcome them (and yourself) home with a festive wreath made from (what else?) books! Check out this easy DIY project for a bookish winter.
Gather your Materials:

Old book: This one can be water-damaged, dog-eared, well-loved or totally boring. All you need is a book with a pretty font and plenty of it. If you have a local second-hand shop, you can always pick up a book you hate – this project is a perfect way to turn that terrible required reading you could never get into back in school into a delightful and totally recyclable decoration.
Backing for your wreath: Wire wreath forms are easy to get at a craft store and hold up well all season. You can try making your form out of cardboard or a large paper plate.
Wire: A little scrap wire makes a perfect wreath hanger.
Glue: School glue is fine, but hot glue dries more quickly. Or you can use…
Tape: Regular office tape can solve a lot of tricky paper-folding dilemmas, while masking tape works wonders for holding your wreath in place as the glue dries (and after).
Spray paint: Optional, but adds a fun splash of color or metallic glimmer
Decorations: Ribbons, bells, action figures – the sky is the limit. Make your wreath personal about the things you love.
Instructions:

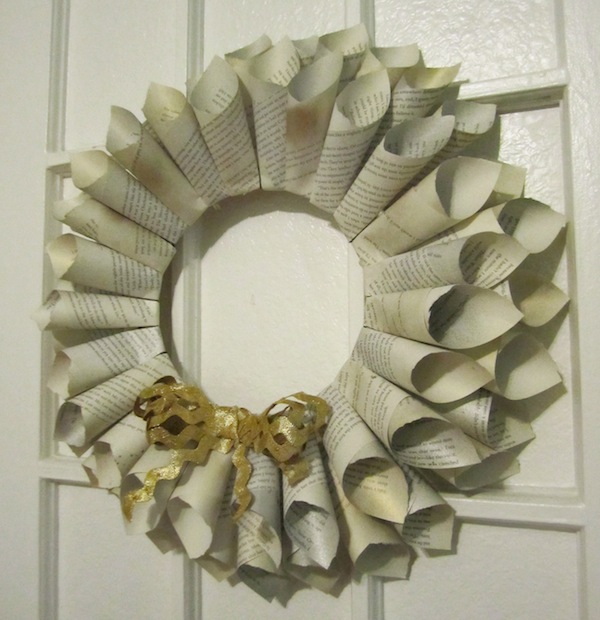
Paper cones
Tear out pages from your book as cleanly as possible and lay them out flat. If you choose, this would be a good time to lightly mist them with spray paint on either or both sides and add glitter. I chose to mist each page with gold on one side and silver on the other.


Once your pages are dry, you’re ready to roll each one into a cone shape, using glue and/or tape to secure them in place. If your pages are longer rectangles, cut them in half to make cones that suit your wreath form. You’ll have to make a lot of these little cones for a two-layered wreath – estimate that you’ll need about 2 cones for every inch of circumference on your wreath form.


Secure cones to your wreath form
This process will vary depending on your form, but for a wire form wreath like this one the process is simple. Fold over the base of the cone and add a dab of glue. Secure the cone in place as it dries with a piece of masking tape. You’ll want to be sure to work from the outside in, and to arrange the cones close together.

Once the outer ring of cones is secure, make your second ring nestled closer to the center of the wreath. Fold over the base of each cone in the center ring so that the tips of the cones don’t show.

Decorate
Once all the cones are secure, feel free to decorate! Use wire to secure heavier decorations, and tape or glue for the lighter accessories. This large bow is really just loops of gold rick rack left over from giving my Star Trek TOS uniform a rank upgrade, and it looks perfect!

Hang your wreath and enjoy!
Bend and shape a mounting wire to the back of your wreath to make sure it hand securely. A removable adhesive hook is a fantastic way to hang a wreath without damaging your doors!